You will need to install and activate the Coachify Pro plugin and activate the Sidebar Blocks addon in order to use the Facebook block.
The Facebook block can be used to promote/display the Facebook presence of an organization/business on the user’s website.
This further helps in increasing the social influence and traffic on your website and also builds trust among your visitors.
How to add the Facebook block? #
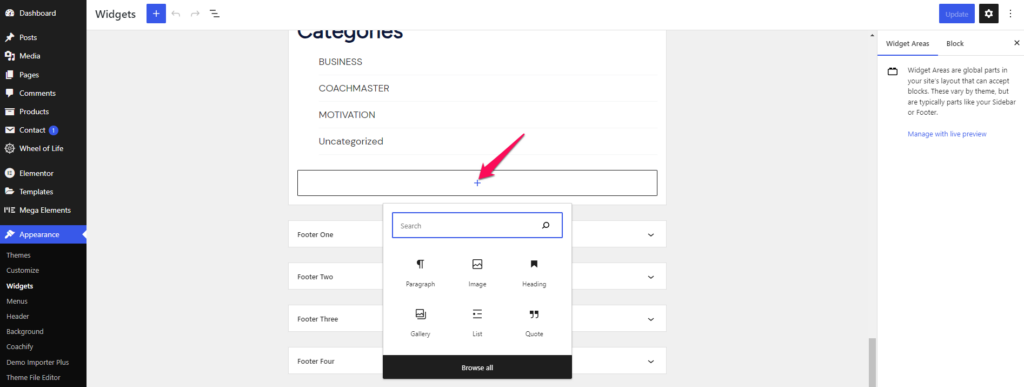
- Visit Dashboard > Appearance > Widgets.
- Inside the Sidebar dropdown option, click on the Add block “+” icon.

- Search for Facebook and click on the block to add it.
- The block will be added to the sidebar which you can further configure via the provided Block Settings.

Block Settings #
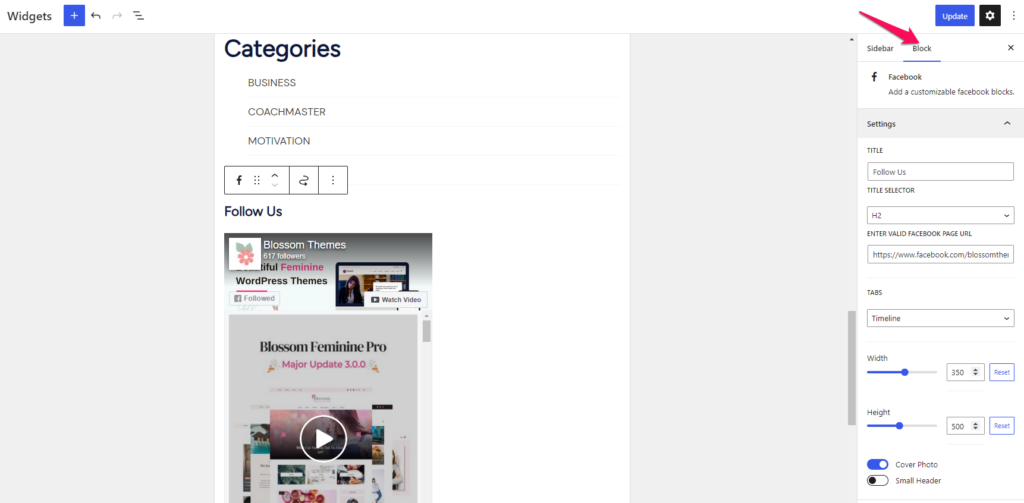
The following is the list of block settings provided to configure the Facebook block.
Title: You can enter the title for the block added here.
Title Selector: Select the Heading Style for the block title.
Enter valid Facebook Page URL: Enter the URL of the Facebook page that you want to display.
Tabs: You can choose to either display the Timeline or Message box via this option.
Width: Here you can set the width of the Facebook block in pixels.
Height: Here you can set the height of the Facebook block in pixels.
Cover Photo: Enable this option to display the cover photo on the block.
Small Header: Enabling this option will reduce the Facebook page header space and remove the share option.
